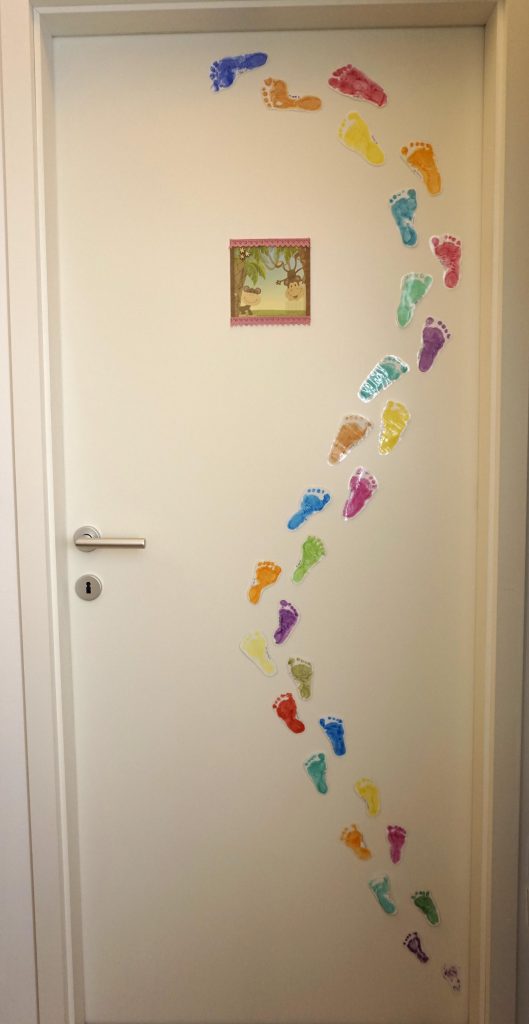
Footprints
This is a unique way to see the growth of your child. It needs some perseverance, but is easy to do and only takes a few minutes of your time each month and creates a beautiful lifelong memory.
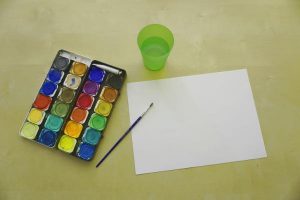
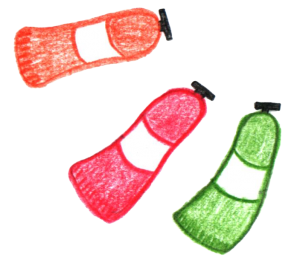
needed items:
- water colors
- paper
- paint brush
- scissors
- laminator
Step 1
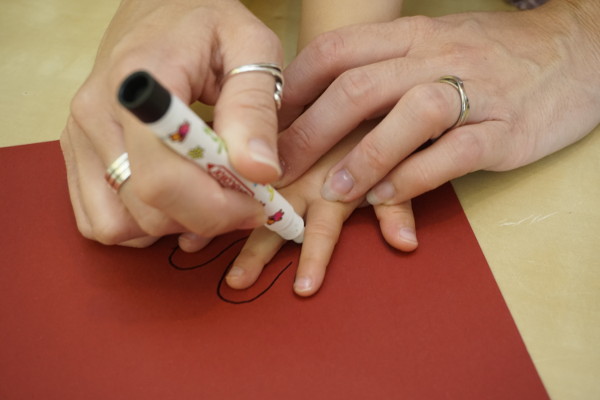
When your newborn is just a few days old, get the water colors out and using the paint brush paint one foot a color of your choice. Don’t worry the water colors wash off the baby’s skin very easily.
Step 2
Print your babies foot onto a paper you have prepared. Now paint the other foot a different color and print it on a piece of paper. I found a trick to make this project a bit easier, since children don’t always cooperate, is sticking the paper on a box or cardboard and holding the paper up against the baby’s foot instead of printing the foot onto the paper.
Step 3
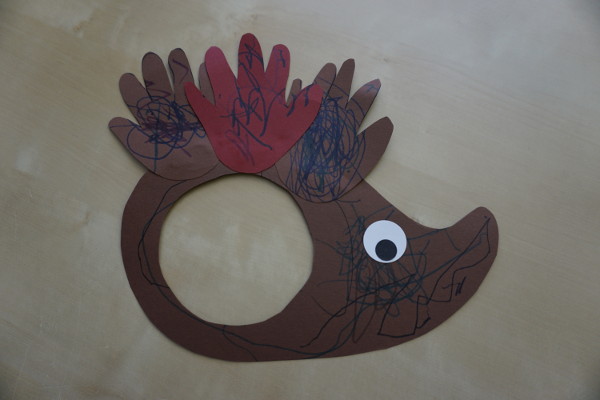
Once the color dried, cut the footprints out, write next to each footprint your babies age (e.g. 1 week) and to help them last longer laminate them.
I hung them up on my daughter’s door, you could also hang them on a wall, the fridge or anywhere else you have a lot of space.
Every month you repeat this procedure. Paint each foot a different color. And stick them above the last months.
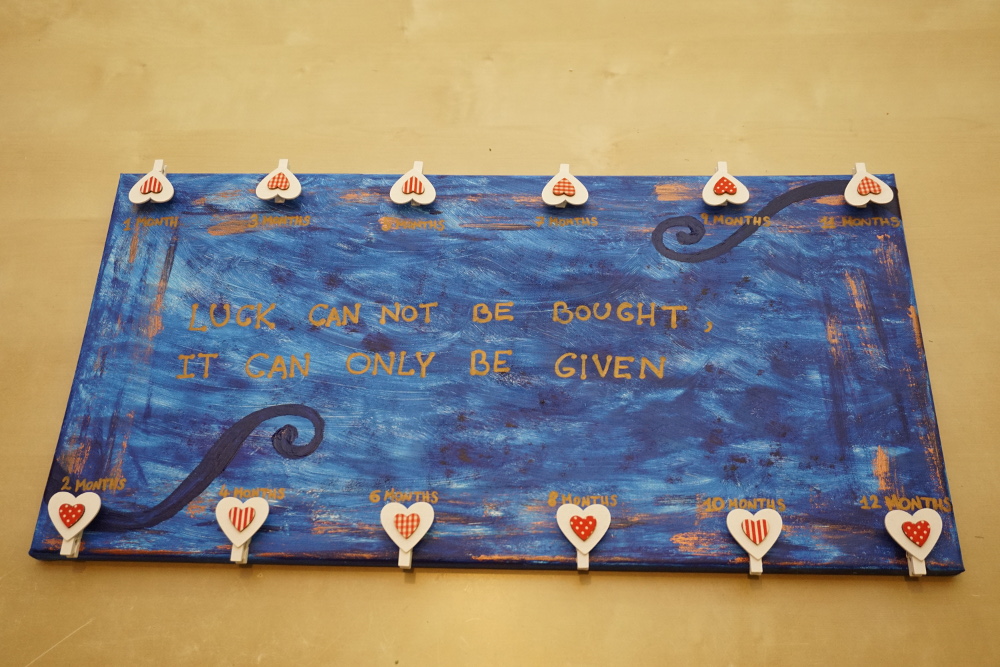
After a year you have 12 months worth of footprints walking up the door or wall. It is a wonderful memory of how small the child once was and how fast they grow.
For the second year we just made footprints every quarter of the year, since the child’s growth isn’t as rapid anymore.
And after the second year we decided to continue doing yearly footprints as long as we want to.
I love looking at the footprints and treasuring the memories.
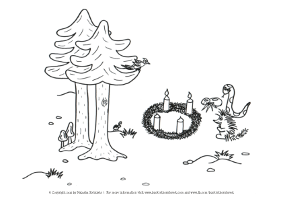
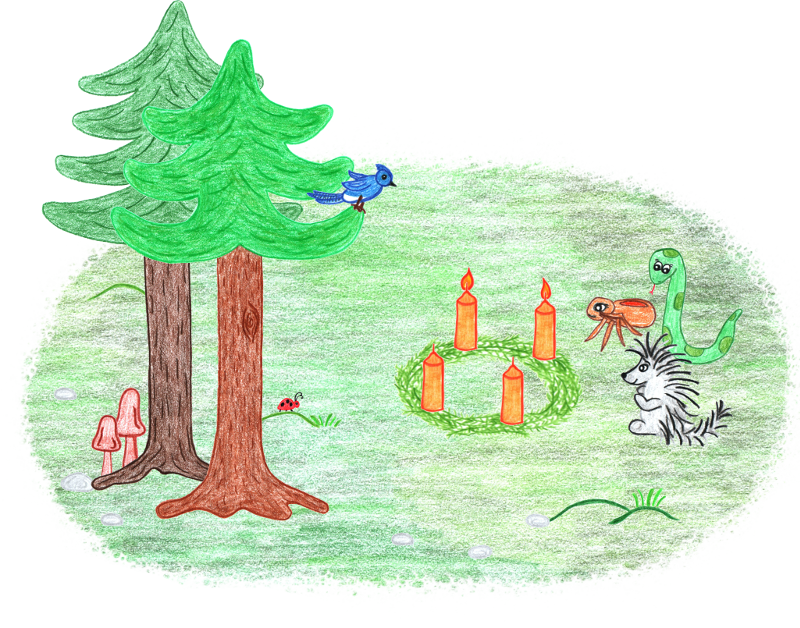

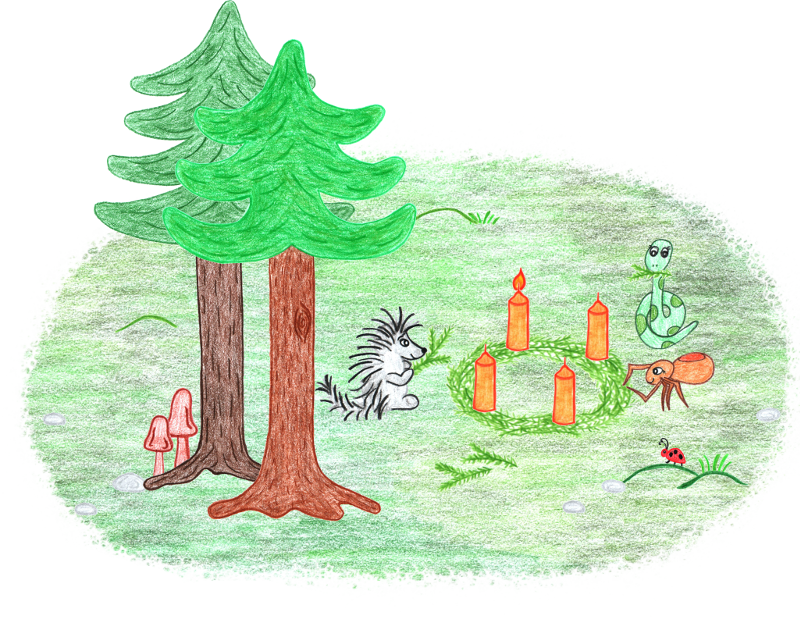


 Hello my dear friends and readers,
 I would like to give you some insight on why I chose the method I did for my illustrations. If you are interested and faced similar difficulties then I hope I can help you out a bit.
 Painting on the computer was never an option, since I don’t work very well on computers. I lack the patience and understanding for them.
 After a while I decided I wanted to do this book and with my mind set on it, all began to fall into place.