Create a memory box
A new year has started, so on this note Happy New Year to you all!
Is there a better way to start the year, than with a fun project to accompany you for many months to come?
Have you collected items over the years that have sentimental value to you and you don’t know where to put them? Here is an easy to do craft project, of what to do with these things – create a memory box. You will benefit from this for a lifetime and some memories that you didn’t want to forget, will be treasured in here.
 needed items:
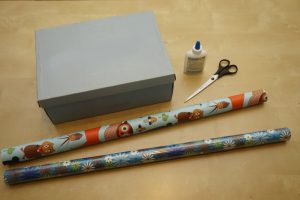
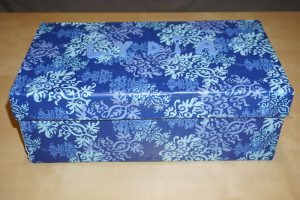
- shoe box
- wrapping paper
- glue and scissors
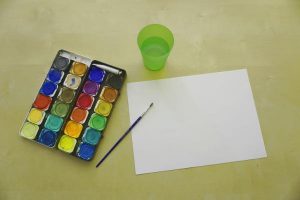
- shoe box
- acrylic paint and paintbrush
or
Step 1:
First you need to find the right size box. Since the box is bound to look quite boring, you definitely want to pimp it up a bit.
Either using the wrapping paper of your choice, cut and glue it all over the shoe box (including the lid) or you use the acrylic paint to paint the box.
Step 2:
When it is dry you can write the name of the person it is for on the lid of the box. If the box is for yourself you could write a nice poem or saying on it. You could also add the date of when you started this memory box.
 Step 3:
Then the fun begins… you collect items that are special to you, things that you want to remember or you once want to tell your child about.
I made my daughter a memory box, that I will give to her when she is an adult. I made myself a memory box when I was a child and I still add items… concert tickets, books, special gifts I have gotten and anything else I don’t want to forget.
I love looking through the box and going back down memory lane.