You are using an insecure version of your web browser. Please update your browser!
Using an outdated browser makes your computer unsafe. For a safer, faster, more enjoyable user experience, please update your browser today or try a newer browser.

Monthly Archives: February 2017

Painting technique: potato printing

This is a perfect painting method if you have some old potatoes that desperately need using. This painting technique can be used for various things. You can make lovely patterns for a card or using various cookie cutters, you can make a whole picture just using potato stamps.
Potato printing can be a bit tricky, since the painted potato can be quite slick. I would recommend using this painting method with children +4. My two-year-old daughter really enjoyed it, but made a bit of a mess, rather than a clear picture. But all that matters is that she had fun!
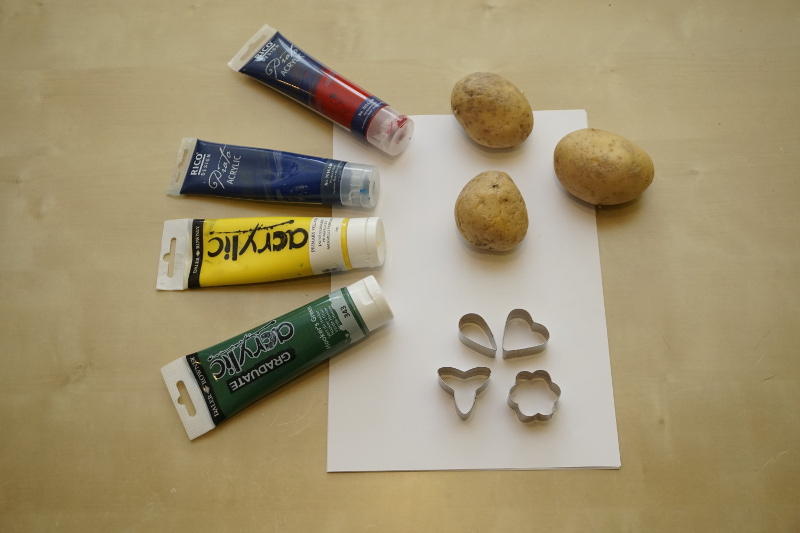
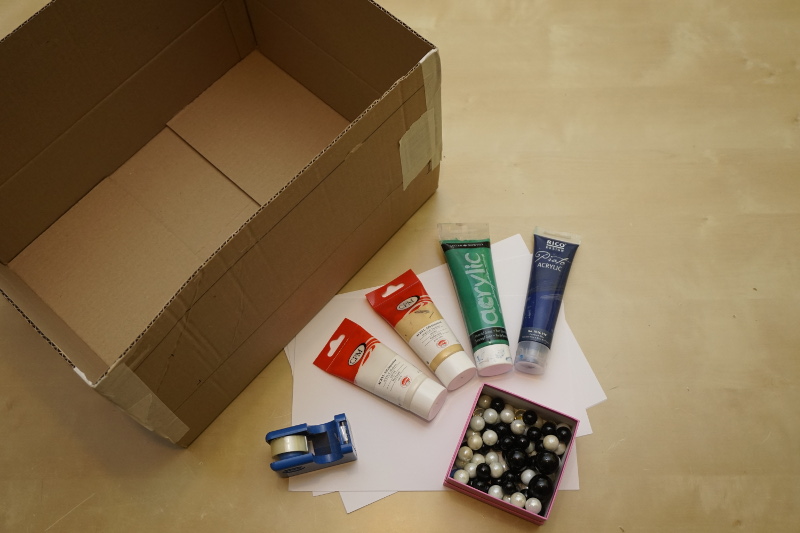
Needed items:

  • potatoes
  • cookie cutters
  • knife
  • paper
  • paint
  • paintbrush (optional)


Step 1:
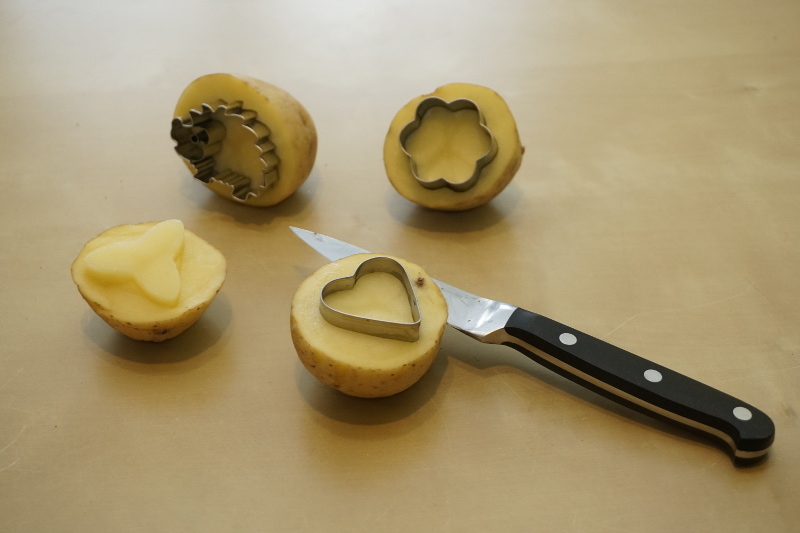
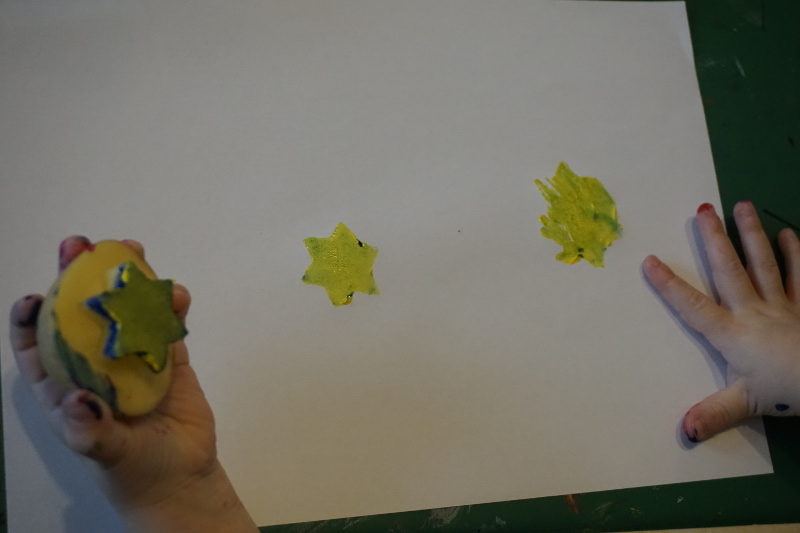
Cut the potatoes in half. Then choose the cookie cutter shapes you would like to print on your paper and press one into each potato half. Using the knife, cut into the potato around the cookie cutter (about 5mm into the potato) and then lift the extra potato you just cut off. (This sounds very complicated, so if you are confused, take a look at the photo I made) You now have created your own potato stamps.


Step 2:
Either dip the potato stamps into the paint directly or using the paintbrush paint it on. I would recommend using the paintbrush, since else there’s too much paint on the potato to make a nice print.
You can make a pretty pattern or a whole picture, depending on what you want to do with your completed artwork.


Step 3:
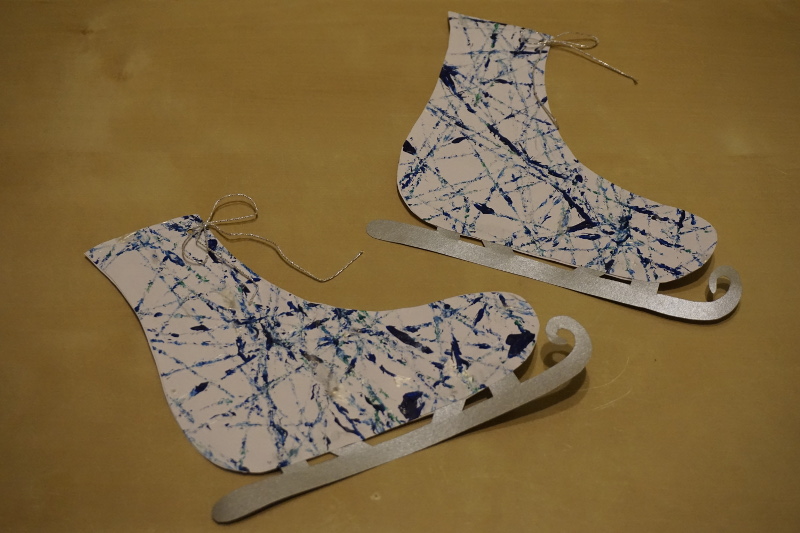
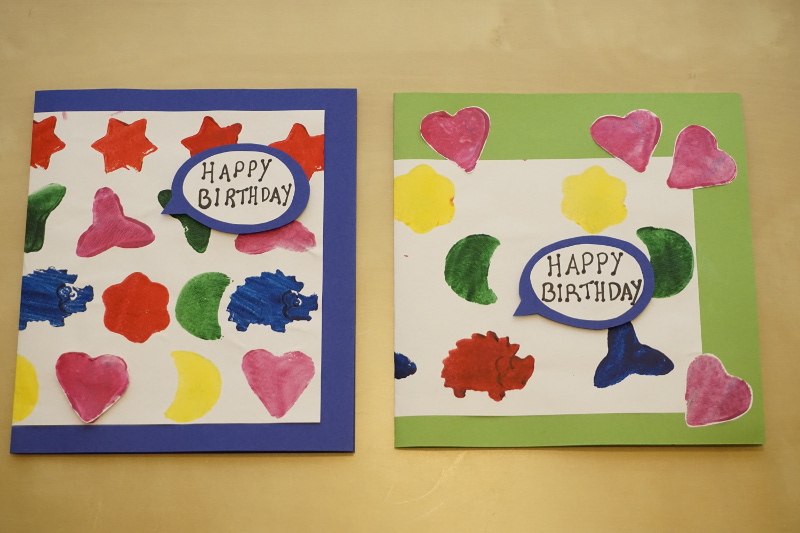
Since I needed some birthday cards, I used the potato printing pattern as a base for my card. I cut out the part of the pattern that I liked best and stuck it on some colored paper. To give the card a 3D effect you can cut out some of the remaining potato prints and stick them over the others using double sided foam adhesive sticky pads.
Let your creativity go wild, and enjoy the challenge of everything is possible when you use potatoes ;)

Categories: Painting Techniques | Tags: , , , , | Leave a comment

Introducing Marble Painting Technique


One of my all-time favorite painting techniques with children is marble painting. I guarantee you are going to be surprised. I literally mean MARBLE painting. :) Again this is not messy, easy to prep and a smooth clean up. This is suitable for all ages and even older children enjoy this relaxing painting method. In addition this is a great exercise for the child’s eye-hand coordination and can boost the child’s patience, since it takes some skill to get the marble into the paint and then across the paper.

Needed items:

  • marble(s)
  • a box (high sides if possible)
  • paper
  • paint
  • tape


Step 1:
Find a box with high sides, that the marbles inside can’t accidentally jump out and cause a massive paint mess.

Step 2:
Put some tape rolls on the back of your piece of paper and then stick it in the middle of your box, so your paper doesn’t slide around in the box. Add a few drops of paint around your paper. I’d recommend no more than 2-3 different colors of paint.


Step 3:
Drop either one or more marbles into the box. Now pick the box up and move it all around – forwards and sideways, make sure you move the marbles into the paint and across your paper. The marbles will roll over the paper and make wonderful patterns in all directions.
If your child is quite young and getting frustrated, because the marble isn’t moving fast enough, I discovered you can also just place the box on the floor and then move it back and forwards causing the marble to bounce off the sides faster. The pattern is more of a zigzag but still very nice.


Step 4:
Do this whole process over and over adding new paper and paint in the box. You can use other colors than the first time, it might just mix a bit with the former paint, but the patterns and outcome will still be pretty and colorful.


Step 5:
You now have created in very short time a whole bunch of beautifully decorated sheets of paper. You can use them for any craft you like. For example as a card, cut out a shape or in my case I made them into ice skates to hang on our windows as decorations. If you would like to make ice skates too, here is a template you are welcome to print out and use.

Happy crafting!


Categories: Painting Techniques | Tags: , , , | Leave a comment